.svg)
Meetings deserve a finale, too!
Because meetings are where most of our decisions are made, it's important to boost and facilitate the decision-making process between attendees. Here's how to add decisions and manage attendees voting on them.
How to add decisions?
There are three ways where you can add decisions:
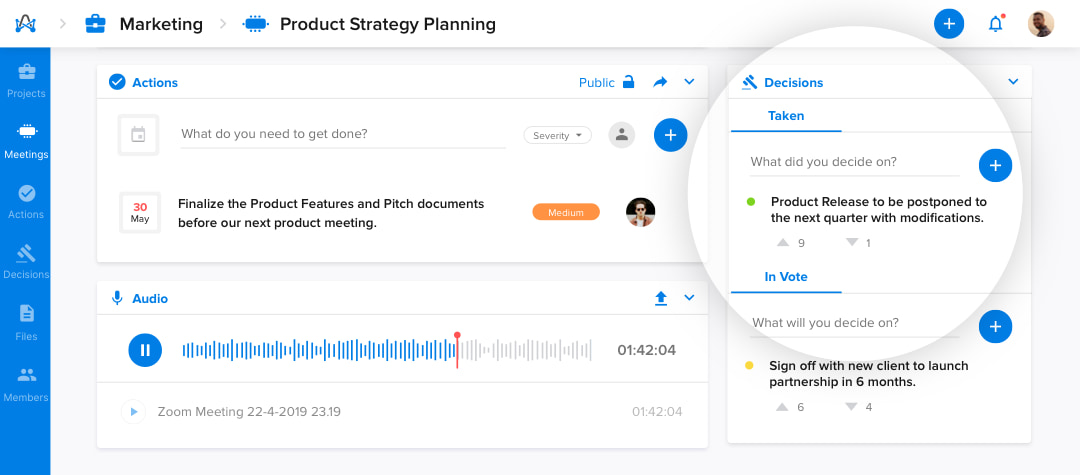
1. Make decisions in meeting room
In your meeting room, from the decision tile, you'll find two sections, the "Taken" and the "In Vote." Select the (+) icon to add new decisions.
You can move decisions to the call-for-vote section. Check the drop-down menu to manage, edit, end, or delete votes.
Only the meeting coordinator can add decisions during the meeting.
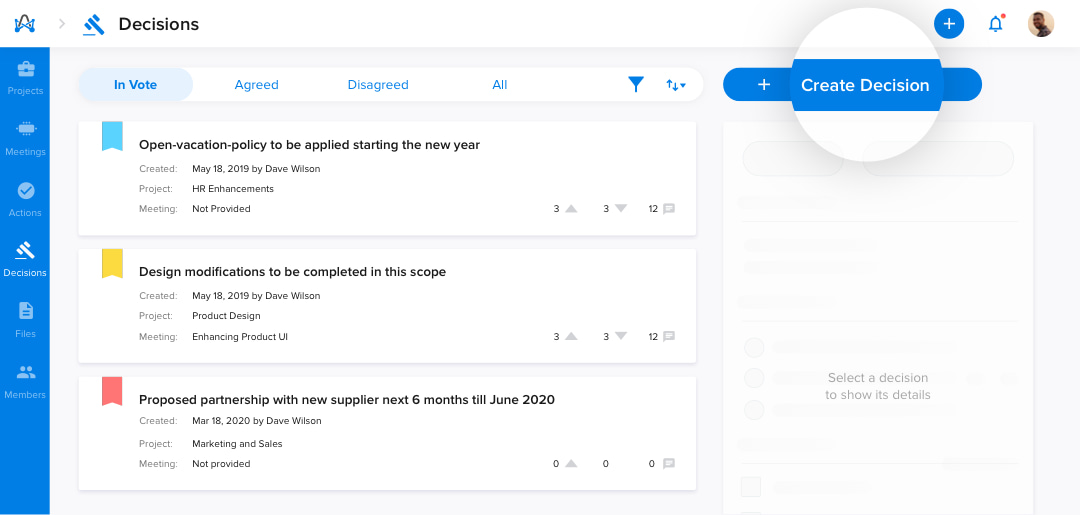
2. Add decisions to projects
Aside from making decisions during a meeting, you can add decisions on projects, directly from the "Decisions" subpage on the "Follow-ups" page. Just click on the "Create Decision" button and follow the instructions.
You need to have at least one project that you're the owner of in order to add decisions directly to it. Note that you'll see this button in a disabled state if you don't have a project you're the owner of.
3. Create decisions directly
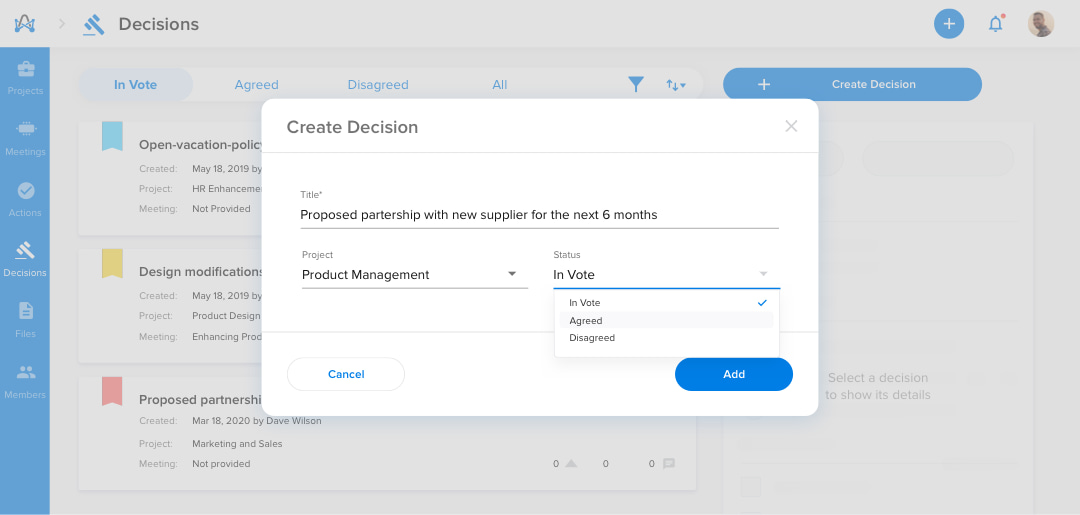
You can also create a new decision directly from anywhere on the app by clicking on the quick add (+) icon; then select "Decision."
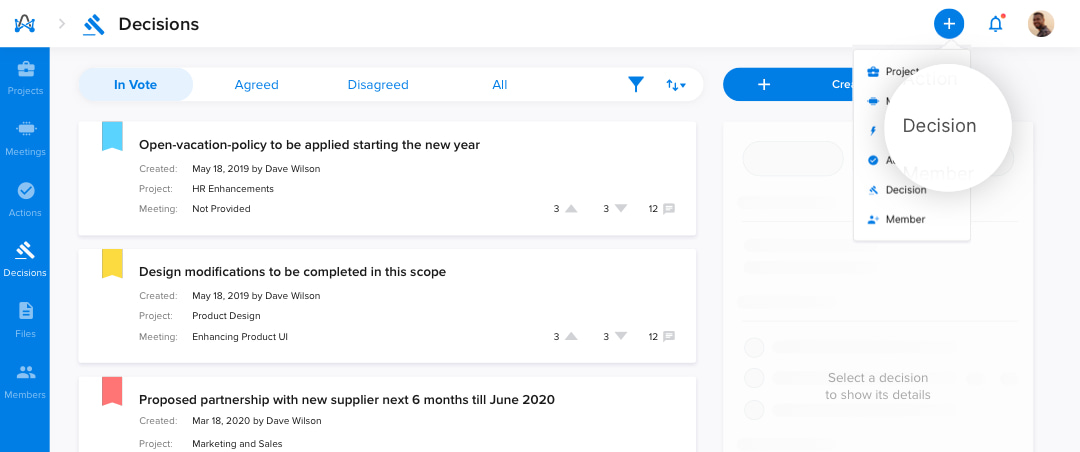
Start adding details to your decision, like title, which project this decision belongs to, and status. Decision status could be either in vote, agreed, or disagreed.
How to view decisions?
Head to decisions on the "Follow-ups" page, where you can view all the decisions that have been made. When selected, you can see that each decision has its own notes, files, votes, and discussion section.
Your decisions have different views:
- In Vote. This view mode displays all decisions that are still in the voting stage.
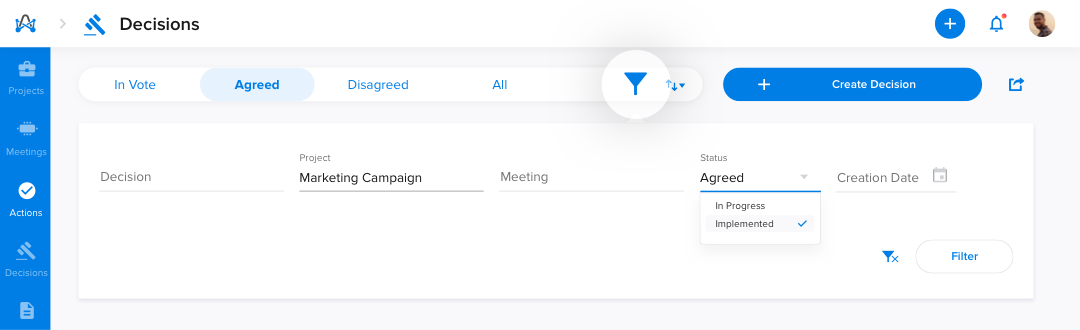
- Agreed. This view mode displays all decisions that are agreed on. Then further into it is In Progress and Implemented, stating which decisions are in which state as the name suggests.
- Disagreed. This view mode displays all decisions that have been discarded since they were disagreed upon.
You can sort decisions by the creation date, in an ascending or descending order.
You can also search for and filter any decision by its title, project, meeting, status, or creation date.
How to edit decisions?
- Select any decision to display its details.
- Click on "Edit Decision" and start editing the decision title, project, and status.
- Hit "Save" and you're done.
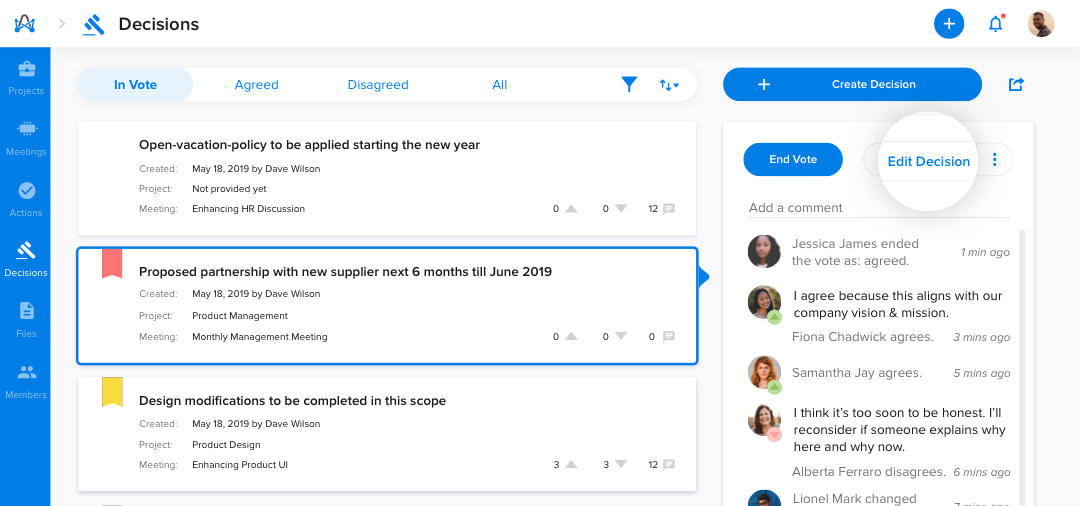
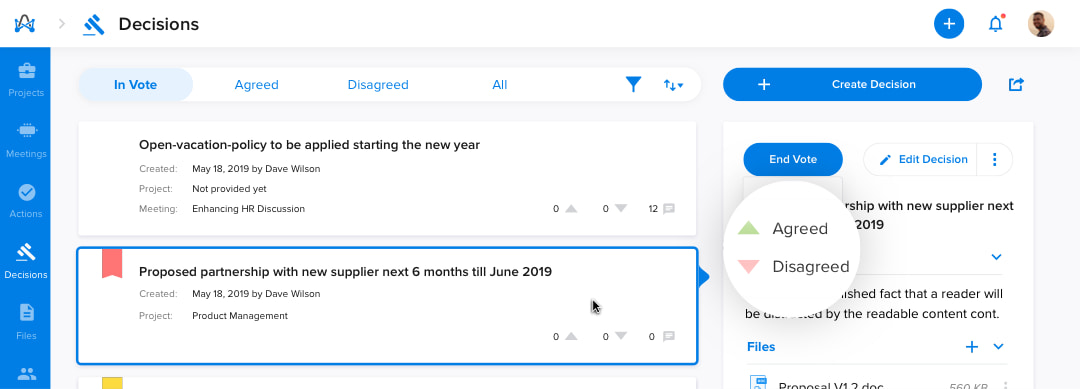
Members can add their comments on decisions in vote and see others' votes in the discussion section of the quick view. Votes of each member appear on their profile pictures as arrows colored based on their votes: green for agreed and red for disagreed.
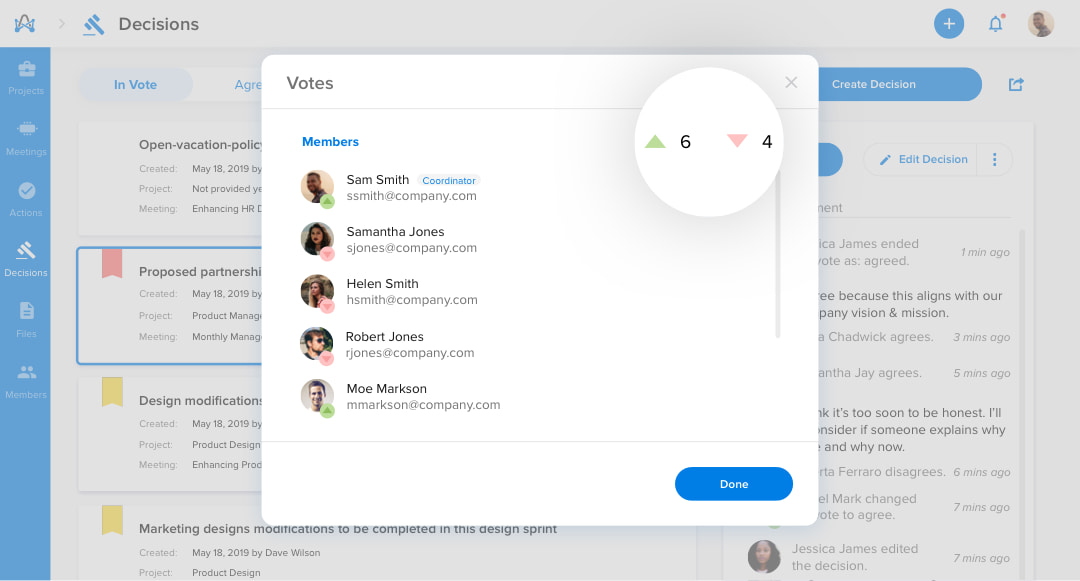
If you're a project owner, you can view all members' votes in a condensed view like in this window below. You can access this window by hovering over the "Votes" section in the quick view and then clicking on the number of either votes.
A project owner has the authority on the states of the decisions, where they can:
- End a decision’s vote (from the in-vote tab) as agreed or disagreed.
- Change an "Agreed" decision’s state from "In Progress" to "Implemented" and vice versa.
- Open voting again on a disagreed decision.
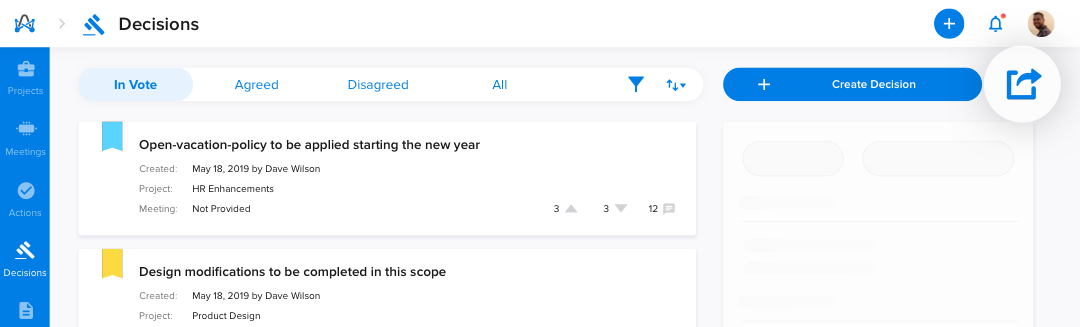
How to export decisions?
You can always export your decision items to an excel sheet through the "Export" icon on the top right of your "Decisions" page.
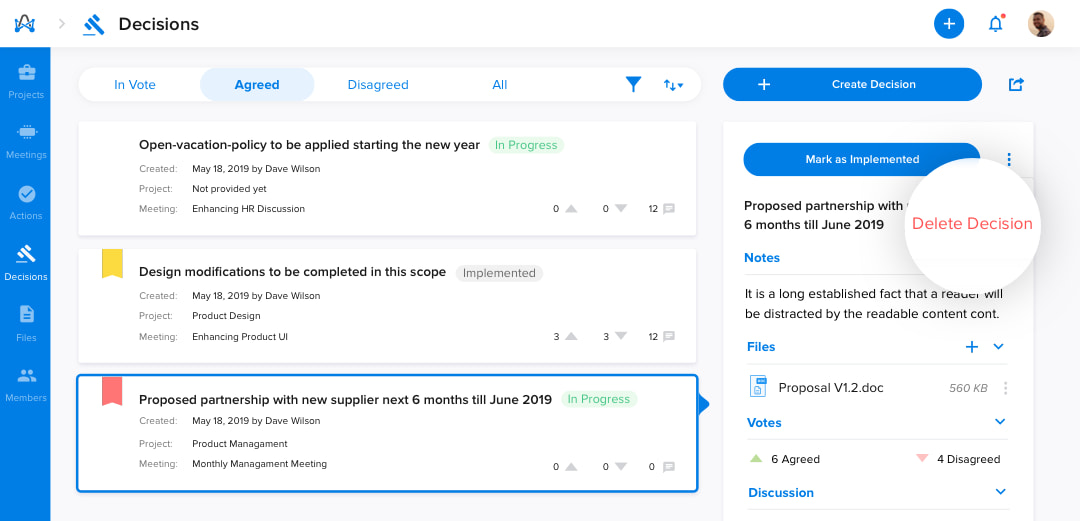
How to delete decisions?
You can always delete a decision if you wish, though not recommended, through the quick view of that decision on your "Decisions" page.