.svg)
Table of Content
How to Create an Account on adam.ai
How to Manage Your Account Settings
How to Create an Account on adam.ai
- Go to platform.adam.ai.
- Sign up using your Google, Microsoft, or Apple account.
- Alternatively, sign up with your email address: fill in your first and last name, email, and password.
- Check your email to confirm the sign-up process.
How to Manage Your Account Settings
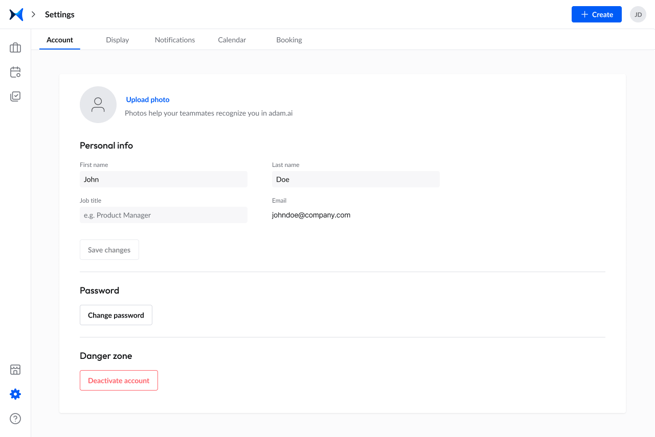
- Click on the gear symbol on the side menu on the left to open "Settings."
- Navigate to the "Account" tab to edit your personal info and upload your photo.
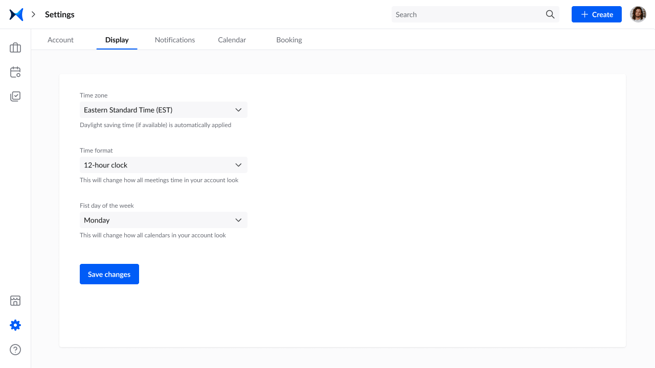
- Proceed to the "Display" tab to set a time zone, time format, and the first day of the week.
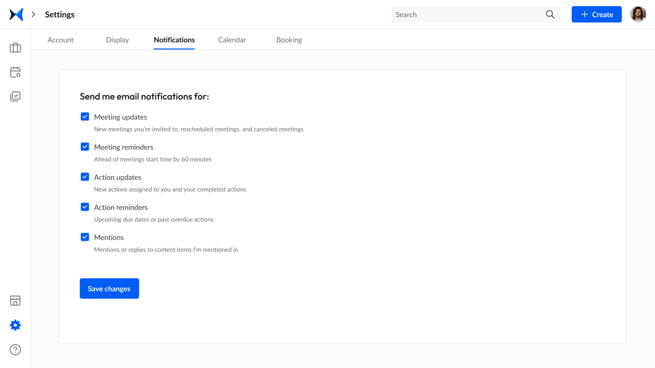
- Head to the "Notifications" tab to configure your email notifications preferences.
- Go to the "Calendar" tab to connect your calendar to sync all your scheduled meetings in adam.ai.
- Lastly, visit the "Booking" tab to create booking pages with links you can share to allow people to book meetings with you according to your availability.
Related Articles
How to Connect Your Primary and Secondary Calendars to Your Account and Sync Meetings
How to Create and Manage a Meeting Space
How to Connect Your Account with Your Favorite Applications
How to Manage Your Meetplace Settings